CREATE: pine cone + felt ball garland
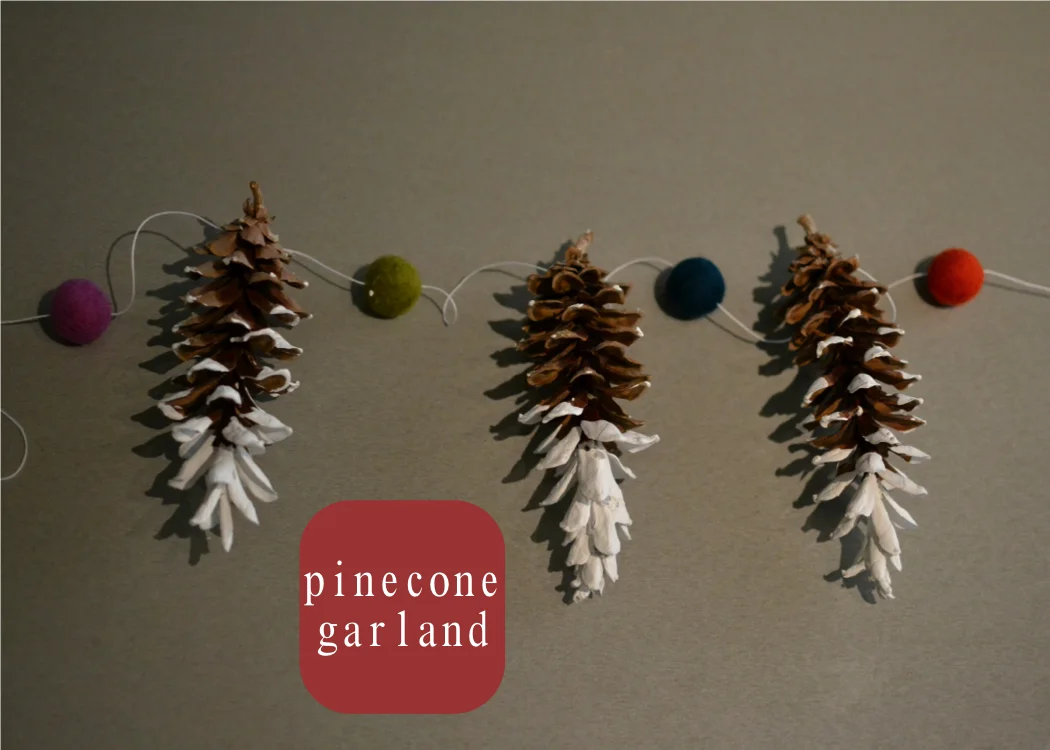
i have been on a hunt for a project that will take us from fall to christmas, and work for all of the holidays this chilly months cover. i saw this fantastic idea by rachel over at smile and wave and thought i would give it a try, with a colorful little twist added in. i am so excited with the final result, i want to make more of them!
MATERIALS:
pinecones (the chunkier the better)
acrylic paint, any color
glitter
cookie drying rack
craft paper
felt balls (i purchased mine here)
twine/yarn/heavy duty string
needle
scissors

first things first...let's dip and glitter some pinecones!
lay out craft paper over the entire surface you will be working on. if you didn't purchase a tub of paint, as i did, you can pour your paint into a larger container for dipping.
i found my pinecones while out on a walk and they were still pretty covered in sap. if this is the case, you might want to wear latex gloves while working with them.

hold pine cone by step or the largest part at the top. dip the pine cone into paint, about 1/2 way. as you lift the pine cone out of the paint, slowly twist it back and forth, allowing the excess paint to drip off and back into the tub.

lay each pine cone on your cookie rack to partially dry. you will want the paint to become just tacky to the touch. if you sprinkle the glitter on the pine cones while still really wet, the majority of glitter will drip off with the excess paint.


be sure to rotate the pine cones as you sprinkle with glitter, covering all sides.

allow pine cones to dry over night before beginning the rest of the project.

after pine cones have dried, they can be strung up for the garland.

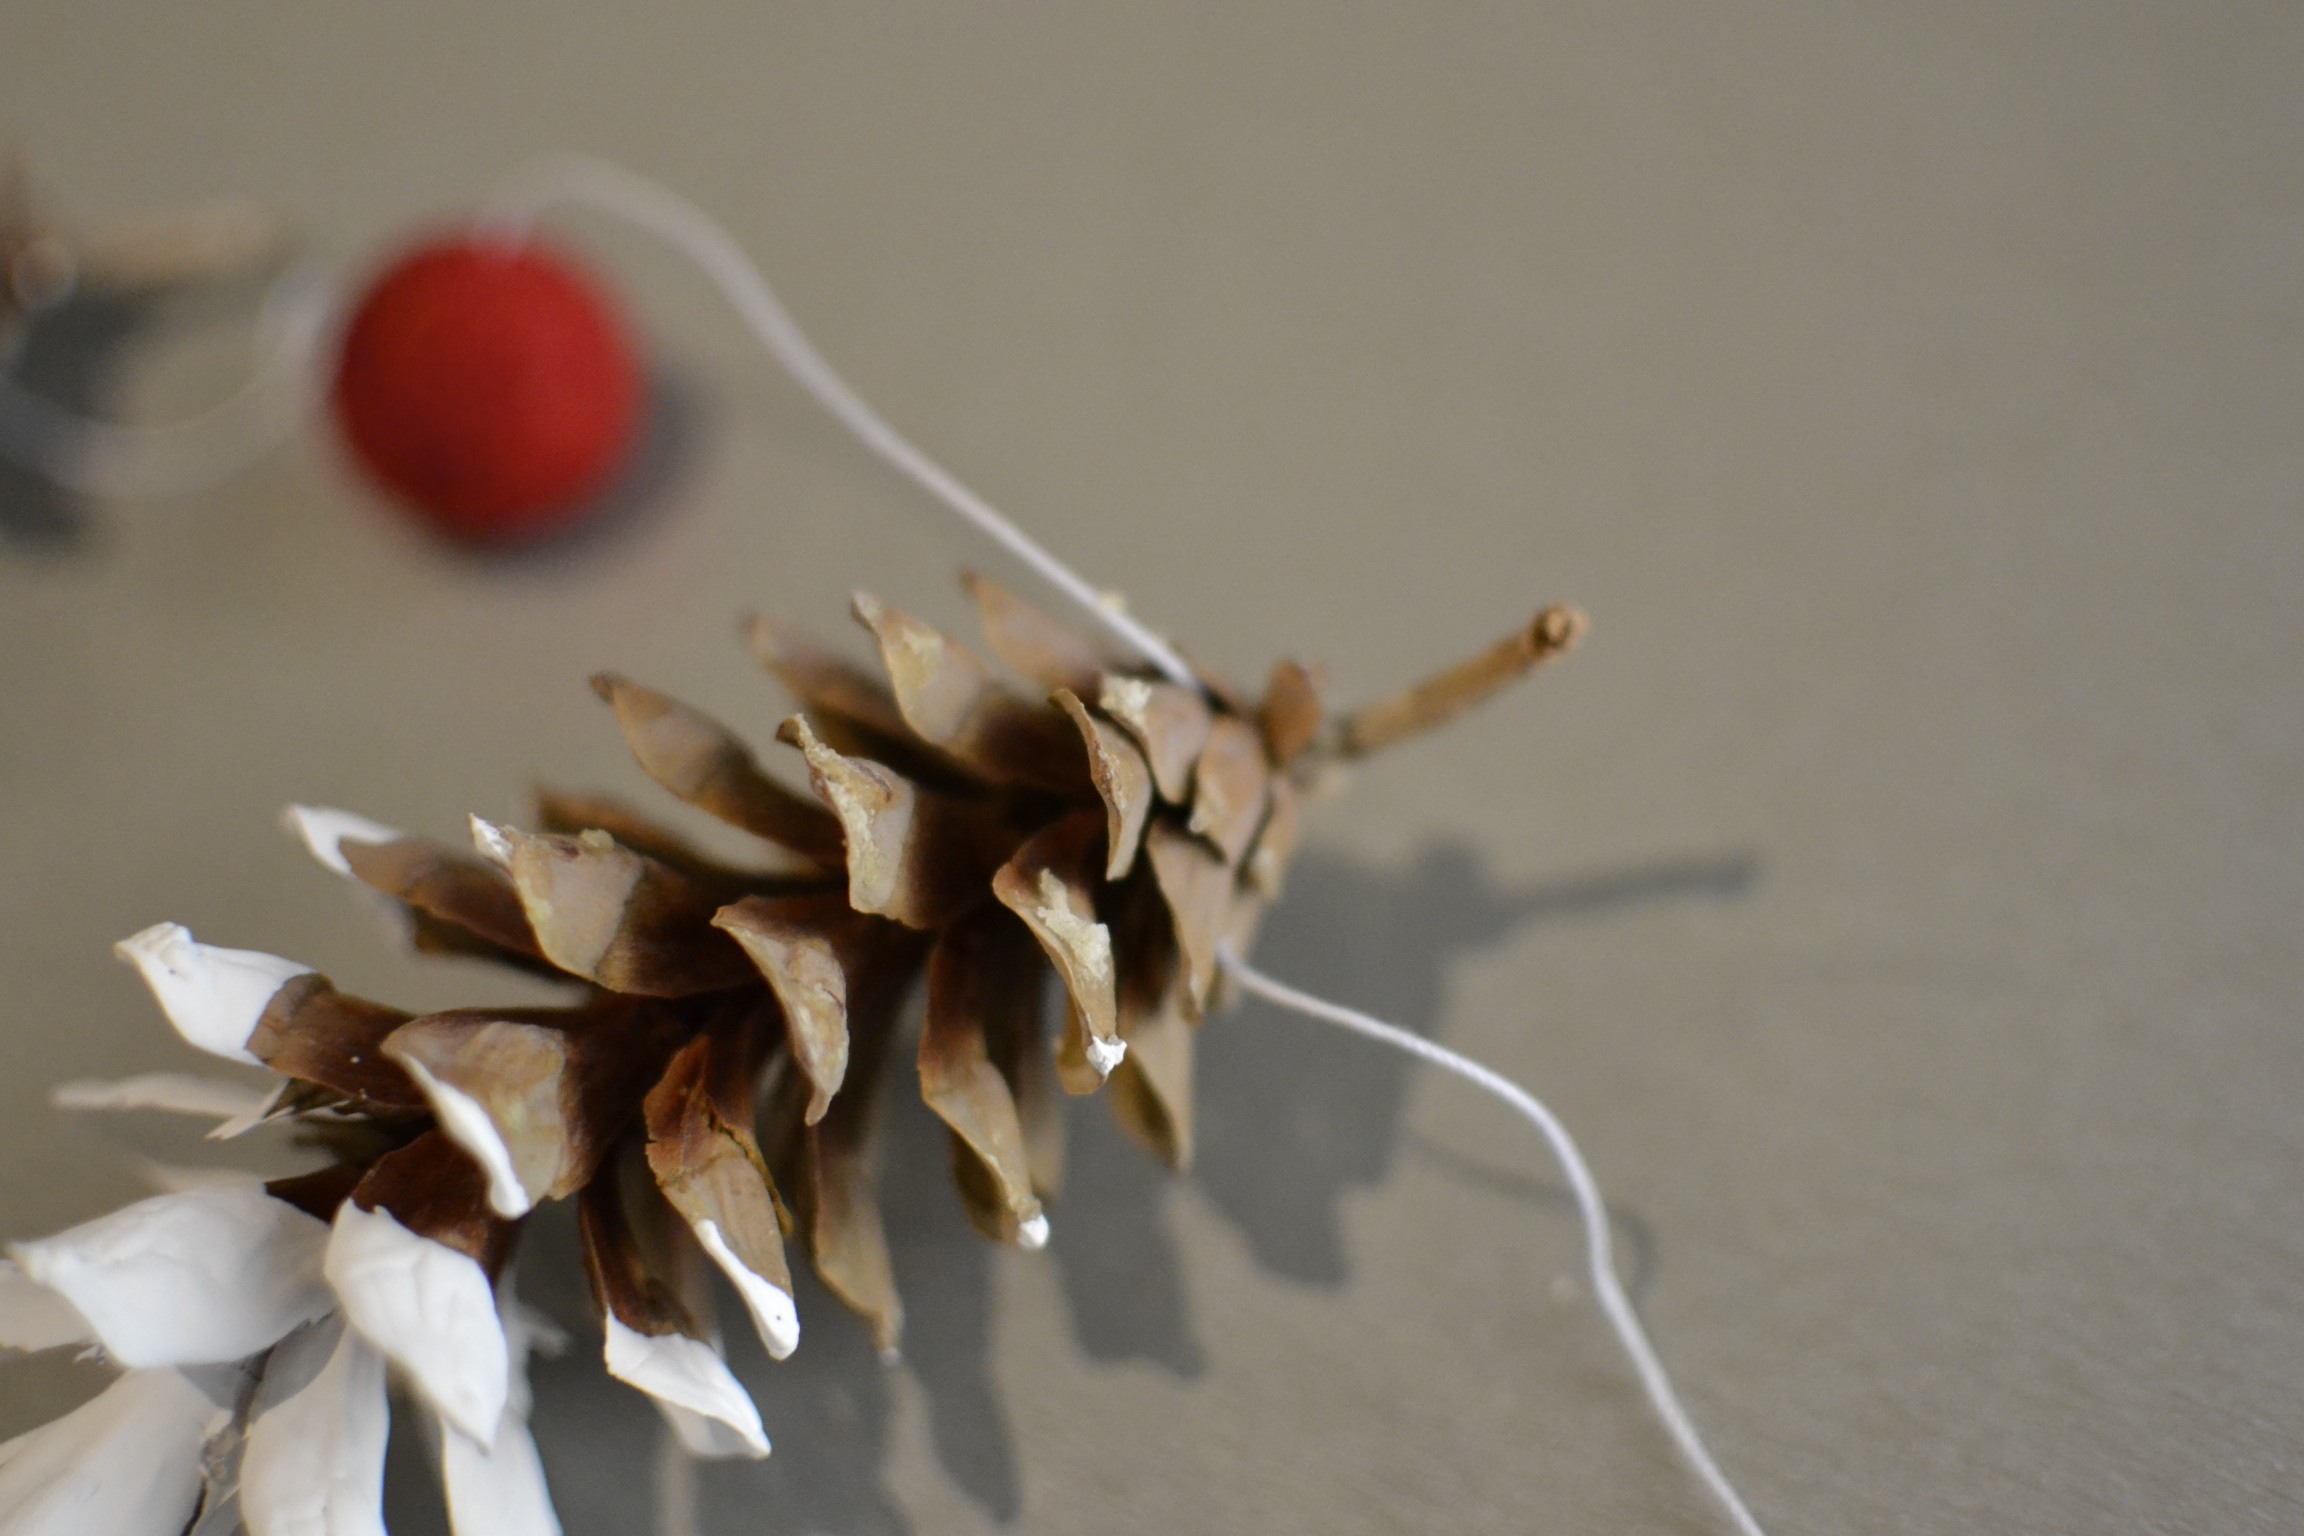
loop the string underneath the top layer of pine cone scales. pull gently on the string to be sure it has tightened up all the way. continue your pattern.

after you have reached your desired length, tie a loop at each end of the garland and hang! this does get a little heavy so be sure to fasten it securely to the wall. so much fun!